
Top free screen recorders for chromebook are usually either built into ChromeOS, built into Chrome, or delivered as web apps and extensions, and the “best” choice depends less on features and more on what you’re recording and where the file needs to end up.
If you’ve ever hit record and ended up with no system audio, a tiny 720p file, or a recording that eats your storage, you already know why this matters, Chromebook screen recording looks simple until you need it to work on a deadline.
Below is a practical shortlist for 2026, plus a quick self-check, setup steps that prevent the most common failures, and a few red flags to avoid when you’re installing “free” tools.
What “free” really means on Chromebook (and why it matters)
On Chromebooks, “free” tends to fall into three buckets, and each comes with tradeoffs you’ll feel fast.
- Built-in tools: reliable, no installs, fewer advanced edits.
- Browser-based recorders: convenient, sometimes limited by permissions or network stability.
- Extensions: quick access, but quality and privacy vary a lot.
According to Google, ChromeOS includes built-in features for capturing your screen, and Chrome provides media capture permissions that websites can request. In practice, that means you can often record without adding anything, as long as you set audio and permissions correctly.
Quick comparison table: top free options (2026)
This table focuses on what usually breaks first for real users: audio routing, export friction, and reliability during long recordings.
| Tool type | Best for | Audio options | Typical limits | Notes |
|---|---|---|---|---|
| ChromeOS built-in Screen Capture | Classes, quick demos, support tickets | Mic input, system audio support varies by device/app | Few editing features | Most stable starting point |
| Google Meet recording (Workspace) | Meetings you must archive | Captures meeting audio | Not “free” unless your plan includes it | Simplifies compliance for orgs |
| Loom (free tier) | Async walkthroughs and feedback | Mic + tab/system audio (plan and browser dependent) | Free tier constraints can change | Great sharing workflow, less “local file” oriented |
| Screencastify (free tier) | Teachers, lightweight editing | Mic + tab audio (common) | Free tier caps often apply | Check current limitations before committing |
| Built-in Chrome tab capture (web apps) | Recording a single web app or tab | Tab audio commonly supported | Long sessions may be less stable | Depends on the site’s recorder |
Two honest notes: “free tier” rules change, and Chromebook models differ, so treat any shortlist as a starting point, not a promise.
Pick the right recorder by scenario (a fast self-check)
If you pick based on your scenario, you avoid 80% of “why is my recording broken” moments.
If you need a clean local file (offline share, upload later)
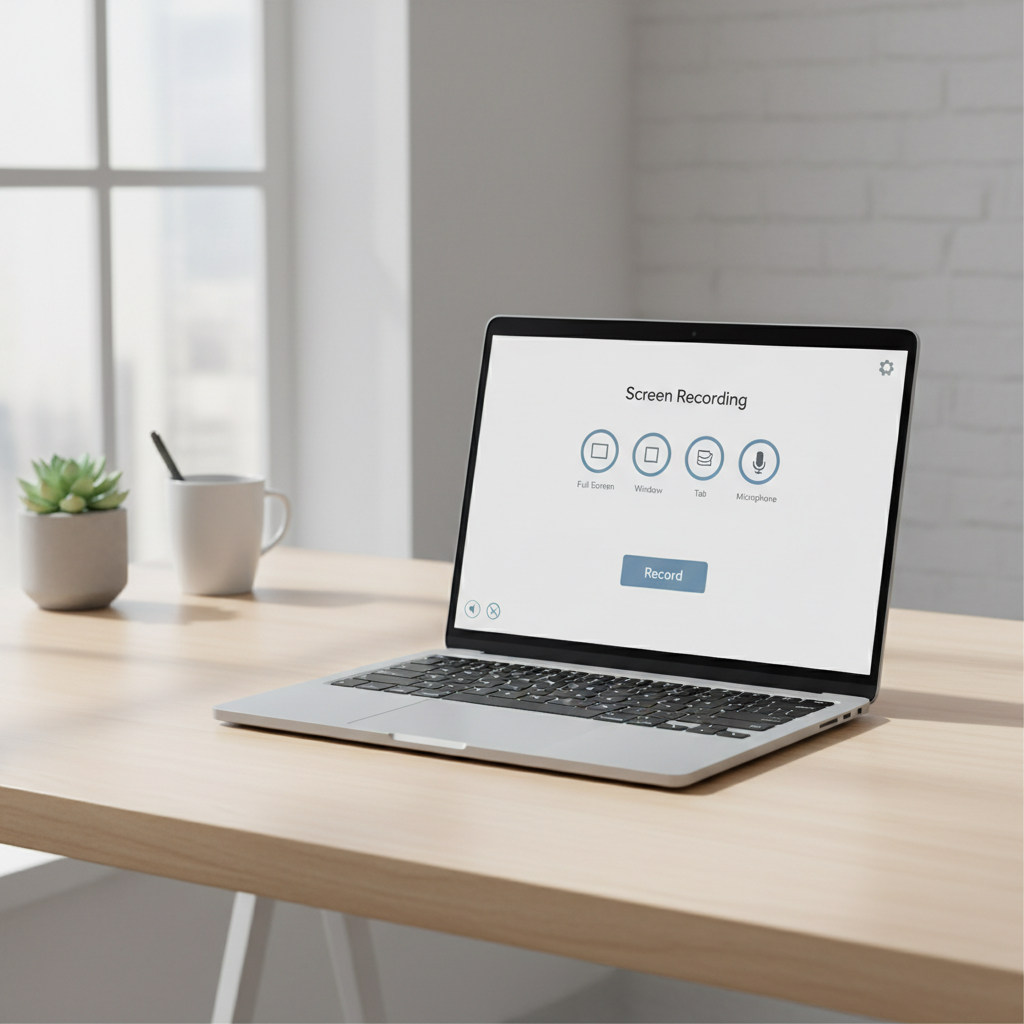
- Start with ChromeOS built-in screen recording.
- Record shorter segments if your device has limited storage.
- Plan for basic trimming only, do edits elsewhere if needed.
If you need “share a link” more than a file
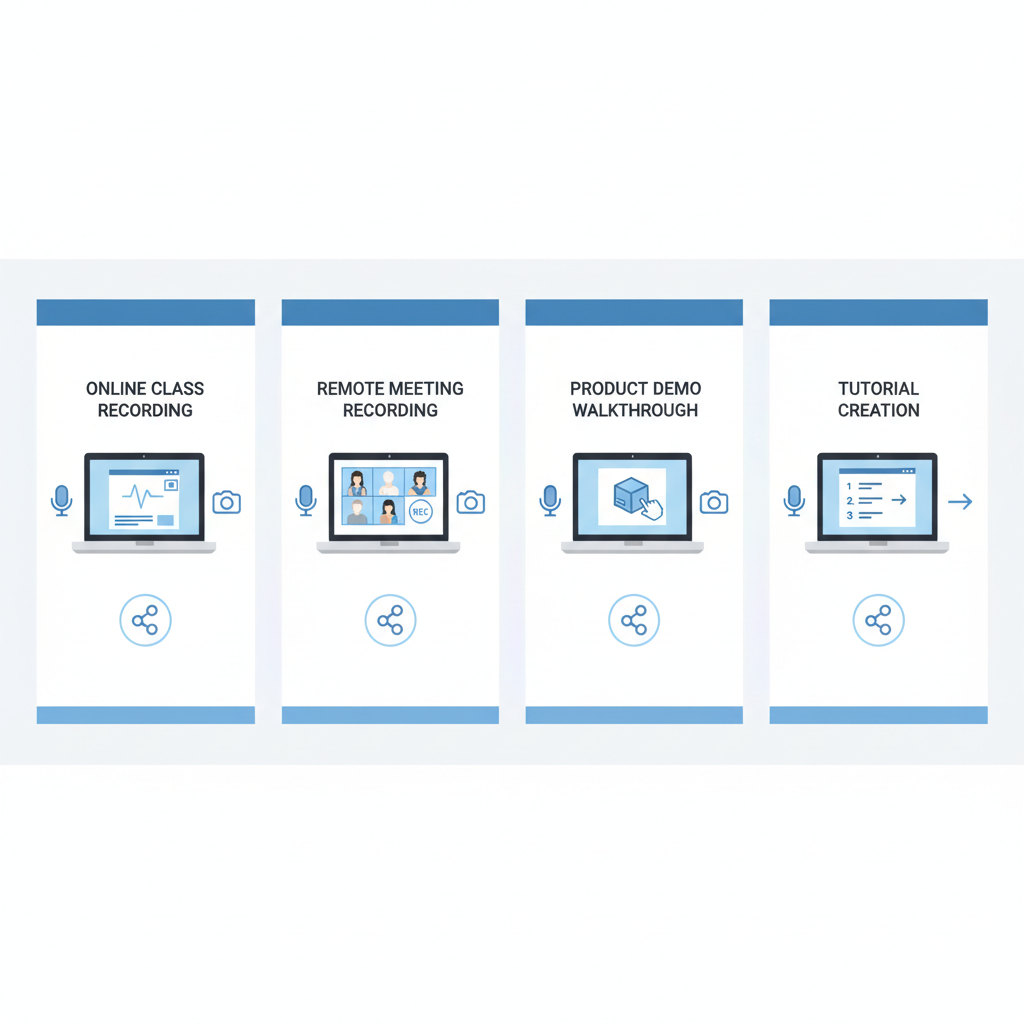
- Use a tool like Loom when speed matters and viewers want comments.
- Choose it especially for product feedback, internal training, quick bug reports.
If you’re a teacher and need simple edits and classroom flow
- Consider Screencastify for trimming and quick cleanup.
- Confirm your school Google Admin policies allow the extension.
If you’re recording meetings for an organization
- Google Meet recording can be the least painful if your Workspace plan supports it.
- It reduces “who has the file” chaos later.
How to get better audio on Chromebook recordings (without guesswork)
Audio is the reason many people abandon “top free screen recorders for chromebook,” not video. The fix is usually boring: routing and permissions.
- Decide what audio you need: microphone only, tab audio, or “everything.” Many tools capture tab audio more reliably than full system audio.
- Use a headset when it matters: it reduces echo and auto-noise suppression artifacts that can make speech sound thin.
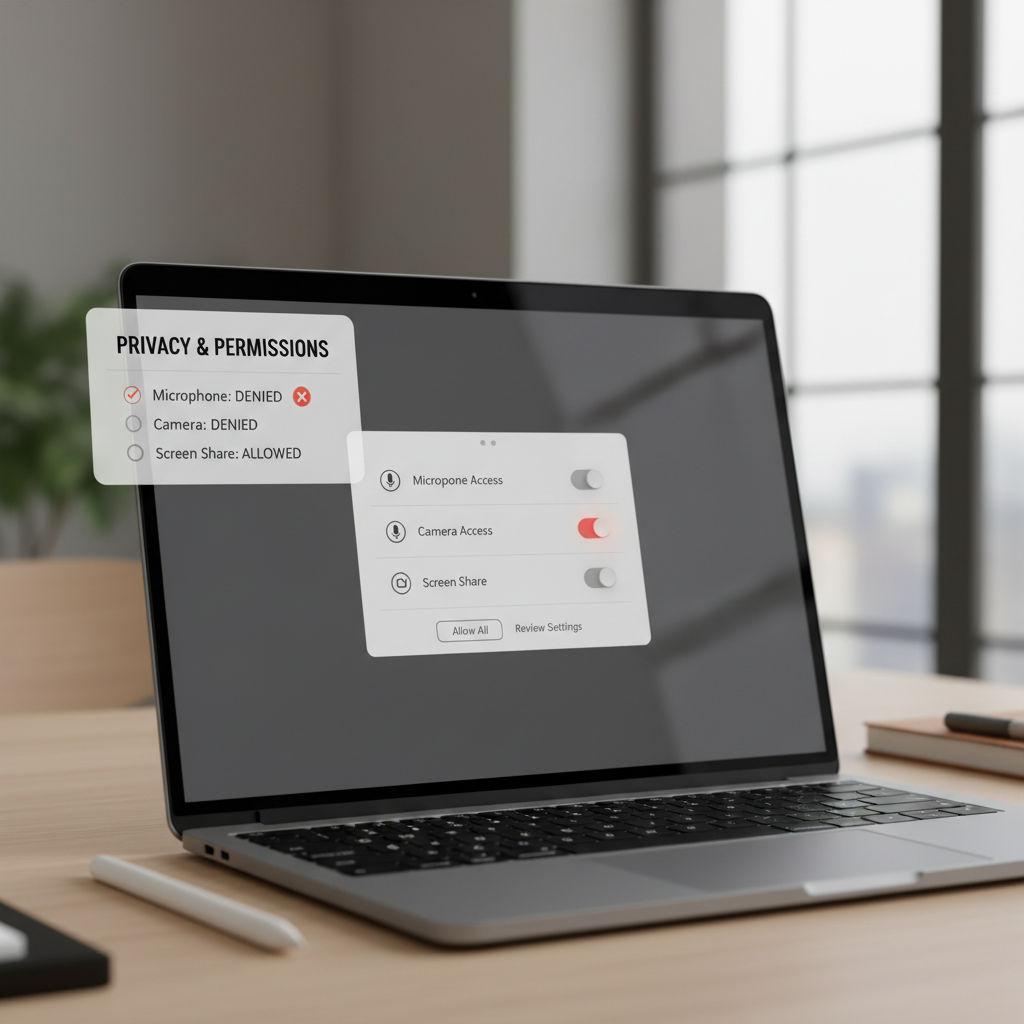
- Check Chrome permissions: if your recorder is a site or extension, confirm mic permission is allowed for that site.
- Do a 10-second test: play a video, say one sentence, stop, replay, confirm levels before a 30-minute take.
According to Google, Chrome lets you manage microphone and camera access per site in browser settings. That’s where a lot of “it recorded silence” issues hide.
Recommended settings for smoother video (especially on budget Chromebooks)
Better settings are often about restraint, when you push 1080p at 60fps on an entry device, dropped frames show up right when you’re explaining something important.
- Resolution: 720p is usually enough for tutorials and schoolwork, 1080p helps small UI text but increases CPU load.
- Frame rate: 30fps fits most how-to videos, 60fps only if you record fast motion.
- Capture area: record a single window or tab if possible, it lowers load and keeps private notifications out.
- Close heavy tabs: especially video streaming, multiple Google Docs, or big web apps running in the background.
If your Chromebook has limited storage, export immediately to Google Drive or delete raw takes after verifying the final file, it’s a simple habit that prevents mid-record failures.
Step-by-step: a reliable workflow that works across most free tools
This is the workflow many teams end up with after a few painful attempts, because it reduces surprises.
1) Prep (2 minutes)
- Turn on Do Not Disturb to avoid pop-up notifications.
- Open only what you’ll show, close private tabs.
- Plug in power if you expect a long recording.
2) Test
- Record 10 seconds, confirm audio, confirm the cursor is visible if you need it.
- Check that the right mic input is selected, especially with Bluetooth headsets.
3) Record in segments
- Split long tutorials into chapters, it keeps files manageable and rework smaller.
- Pause between segments to let your Chromebook “catch up” if fans spin up.
4) Share or export
- If you need a file, choose MP4/WebM based on what your platform accepts.
- If you need speed, publish a link and download a copy only if required.
Common mistakes (and what to do instead)
- Installing random “free recorder” extensions: many are fine, but some are permission-hungry. Prefer well-known vendors and check what access they request.
- Assuming system audio always records: on Chromebooks, system audio capture can be inconsistent depending on app and method, tab audio is often more predictable.
- Recording the whole desktop for a simple demo: you risk notification leaks and waste resources, capture only what matters.
- Trying to “fix” choppy video with higher settings: that usually makes it worse, drop resolution or close background tabs instead.
- Not checking school/work policies: managed Chromebooks can block extensions or recording permissions, your admin may need to approve.
According to the Federal Trade Commission (FTC), it’s smart to pay attention to privacy claims and data practices for apps and services you use. For recorders, that translates to reading permission prompts and understanding where your videos upload.
When it’s worth getting help (or switching from “free”)
Free tools are great until your requirements become specific, then time cost sneaks up on you.
- If you need reliable system audio plus webcam plus higher resolution, a paid plan or desktop editor may save time.
- If you record client meetings or sensitive internal material, ask your IT or compliance team what’s approved, especially for cloud-hosted recorders.
- If your Chromebook is managed by a school or employer, your admin can confirm what’s allowed and prevent you from wasting hours testing blocked options.
Key takeaways to choose fast
- Start with ChromeOS built-in recording if you want the simplest, most stable free option.
- Pick tab capture when you need predictable audio for web content.
- Use a free-tier tool when sharing and collaboration matter more than owning a local file.
- Test audio early, it’s the failure point that costs the most time.
FAQ
What is the best free screen recorder for a Chromebook in 2026?
For many people, the built-in ChromeOS screen recorder is the most dependable place to start, because it avoids extension conflicts and surprise limits. If you need link sharing and comments, a free-tier web recorder may feel smoother day to day.
Why can’t I record internal audio on my Chromebook?
It depends on how you record and what you mean by “internal.” Many solutions capture tab audio more consistently than full system audio, and permissions also matter. If it’s critical, run a short test and consider switching methods.
Do Chrome extensions for screen recording slow down Chromebooks?
They can, especially if the extension runs background processes or if you record high resolution while other tabs are heavy. If performance drops, try the built-in tool, reduce capture area, and close unused tabs.
Is Loom free on Chromebook and is it good enough for work?
Loom typically works well on Chromebooks for async updates, but the free tier may have limits that change over time. If your workflow requires long recordings or advanced controls, confirm current plan details before standardizing on it.
How do I avoid recording private notifications on a Chromebook?
Use Do Not Disturb, and record a single window or tab instead of the full desktop. That one change prevents most “oops” moments.
What file format should I choose for Chromebook screen recordings?
MP4 is widely accepted, while WebM is common in browser-based workflows. If your destination is YouTube, Drive, or an LMS, both often work, but check the platform upload rules if you hit errors.
Can schools or employers block screen recording on Chromebooks?
Yes, managed devices can restrict extensions, camera/mic permissions, or screen capture features. If you keep seeing permission prompts or missing options, your admin is usually the quickest path to clarity.
If you’re trying to standardize screen recording for a class, a small team, or a support workflow, and you want a simple decision tree based on your exact Chromebook model, audio needs, and sharing destination, it may be worth mapping your requirements once and choosing one recorder plus one “backup” so you’re not troubleshooting during the moment you need to present.