
phone camera settings guide is the fastest way to stop guessing why your photos look soft, noisy, or just “not like what you saw.” Most phones are capable of excellent images, but default settings and auto decisions do not always match your scene.
If you mostly shoot family moments, food, pets, travel, or content for social, small setting changes can make a bigger difference than buying a new phone. The trick is knowing which knobs matter, and which ones are mostly marketing.
This article stays practical: how to read what your camera is doing, quick self-checks to diagnose common problems, then step-by-step adjustments for daylight, indoor, night, and action. I’ll also call out settings that often hurt quality when used all the time.
What actually changes when you “adjust settings” on a phone
Phone cameras do two things at once: they capture light through the lens and sensor, then they process the file using software. Your settings influence both, which is why two phones can produce very different results in the same room.
- Exposure: how bright the image looks, driven by shutter speed and ISO (often hidden, but still real).
- Focus: what the camera prioritizes as sharp.
- White balance: how warm or cool the colors appear under different lighting.
- Dynamic range tools: HDR and related modes that protect highlights and shadows.
- Resolution and format: how much data you keep for editing and printing.
- Stabilization and motion handling: the phone’s ability to keep frames steady when you move.
According to Apple Support, using AE/AF Lock can help keep exposure and focus consistent when a scene changes, which matters a lot for backlit portraits or moving subjects.
A quick self-check: why your photos look “off”
Before you touch anything, identify the failure mode. People waste time tweaking color when the real issue is motion blur, or they crank “night mode” when the scene just needed a steadier hold.
Fast diagnosis checklist
- Blurry subject but background sharp: focus point missed, or the phone chose the wrong face/object.
- Everything slightly smeared: shutter speed too slow from low light, plus hand shake.
- Grainy indoors: ISO pushed high to compensate for dim lighting.
- Bright window, dark face: backlighting, HDR off or not strong enough.
- Skin tones look weird: mixed lighting (window + warm lamp), white balance confused.
- “Crispy” over-sharpened look: too much in-camera sharpening, beauty filters, or aggressive HDR.
If you can name the problem in one sentence, choosing the right setting becomes easier than trying random toggles.
The core settings worth adjusting (and what to avoid)
Most camera apps hide the deep manual controls, but nearly all give you access to the high-impact ones. This section is the backbone of a solid phone camera settings guide.
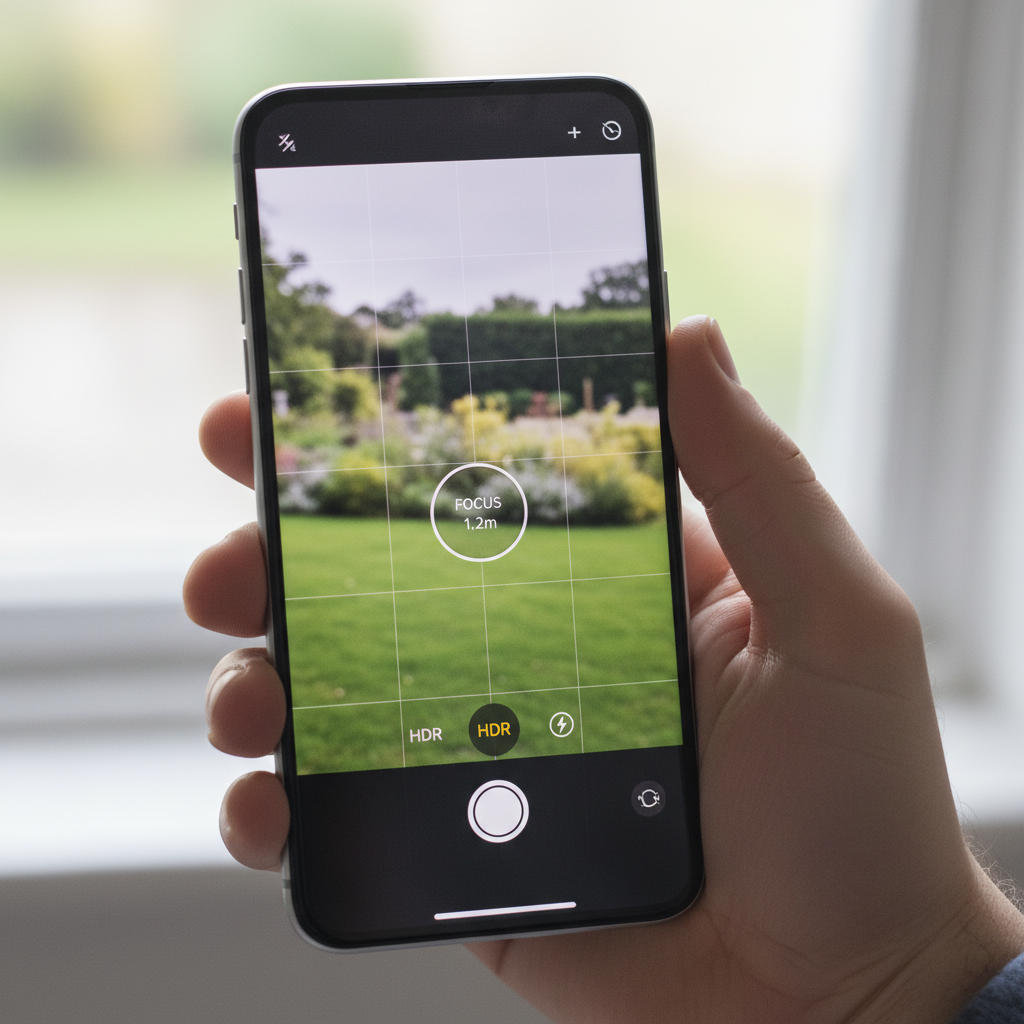
Exposure and focus: tap, slide, lock
- Tap to focus on the subject’s eye/face or your main object.
- Slide exposure (sun icon or +/-) slightly down for bright scenes to protect highlights.
- Use AE/AF Lock when recomposing, especially with strong backlight.
In real use, small exposure changes beat heavy edits later, because blown highlights on phones often cannot be recovered cleanly.
HDR: helpful, but not “always on”
- Turn HDR on for landscapes, bright skies, window-lit rooms, and high-contrast scenes.
- Consider turning HDR off for fast action or when you see ghosting around moving people.
According to Google’s photography guidance for Pixel (and similar computational systems), HDR-type processing works by combining multiple frames, so motion can introduce artifacts in some cases.
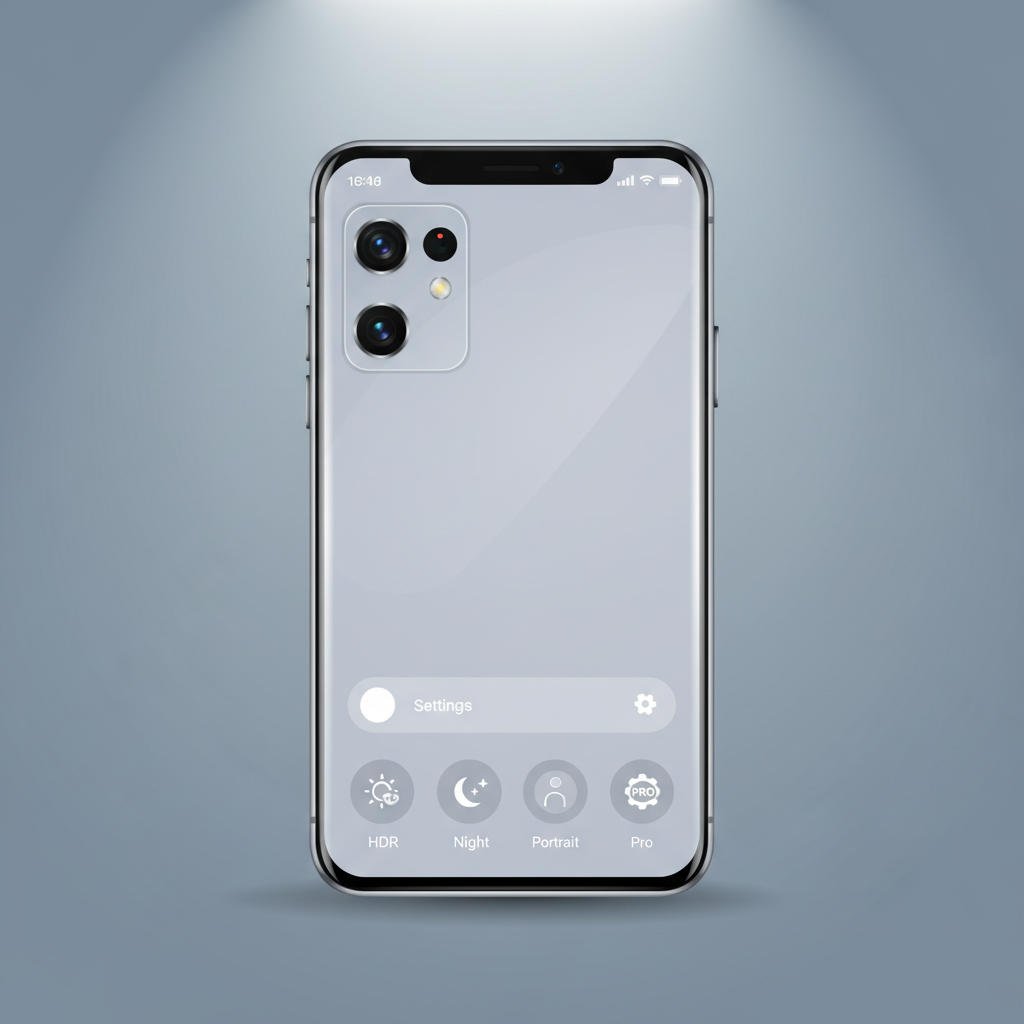
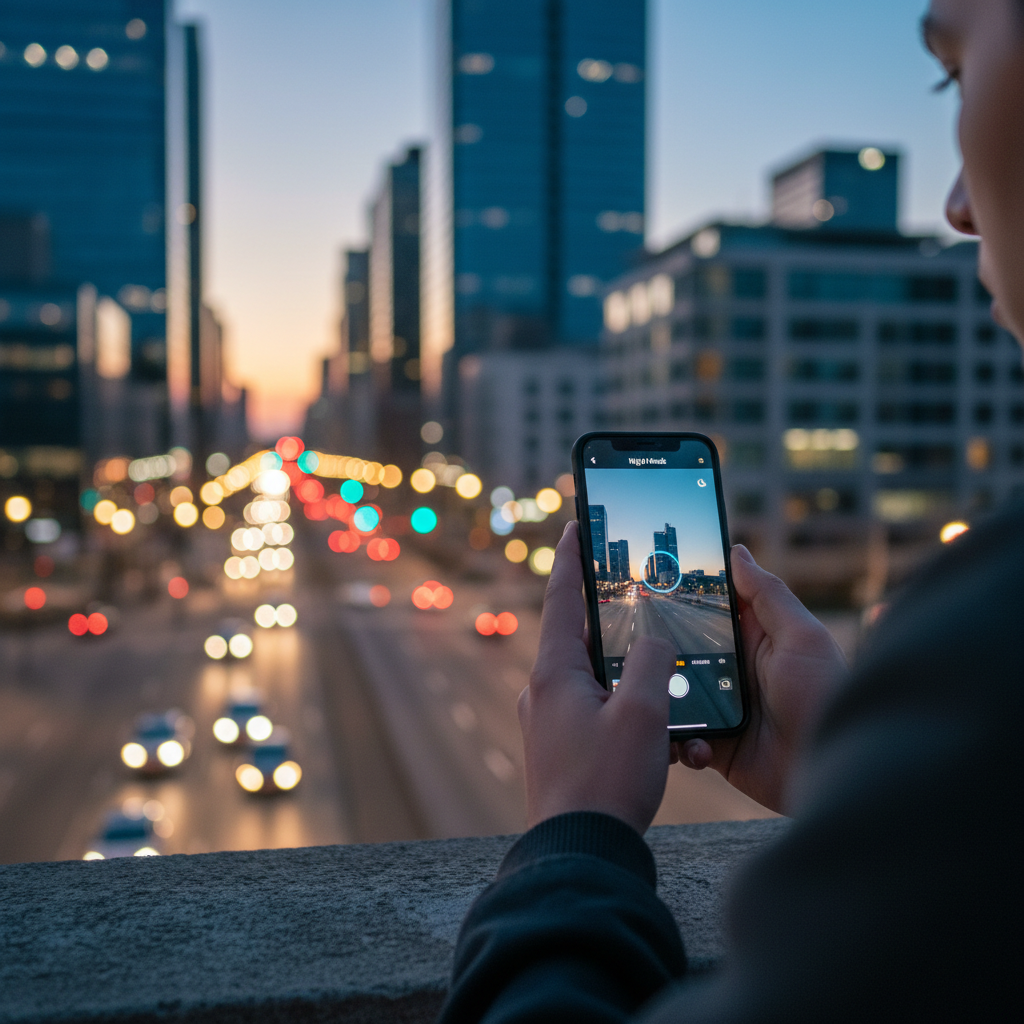
Flash and Night mode: choose one job
- Night mode is usually best for steady subjects in dim scenes.
- Flash can freeze motion at close range, but can look harsh and flatten skin.
If your subject is moving in low light, night mode often creates blur. In that situation, a small continuous light or stepping closer to a lamp can outperform “night” processing.
Resolution, aspect ratio, and file format
- Use the main (1x) camera when you care about quality. Ultra-wide and high-zoom cameras vary a lot by phone.
- Pick 4:3 for maximum sensor area in many phones; crop later if needed.
- Turn on HEIF/HEIC for efficient quality, or shoot JPEG if sharing compatibility matters.
- Use RAW (if available) when you plan to edit exposure and white balance seriously.
Avoid: leaving beauty filters on by default, forcing maximum megapixels if it disables computational processing on your phone, and using digital zoom when you could move closer.
Best settings by scenario (quick table)
Phones differ, but the decision logic stays consistent. Use this as a starting point, then adjust one variable at a time.
| Scenario | What to set | What to watch for |
|---|---|---|
| Bright daylight | Tap focus, lower exposure slightly, HDR optional | Overexposed sky, harsh shadows on faces |
| Backlit portrait | HDR on, tap face, AE/AF Lock, exposure up a touch | Halo/over-processed edges, clipped highlights |
| Indoor warm lighting | Turn off flash if possible, steady hands, adjust exposure up slightly | Noise and soft detail from low light |
| Low light / night street | Night mode, brace phone, timer 2s, avoid zoom | Motion blur, ghosting from moving cars/people |
| Kids/pets action | Use burst/continuous shooting, good light, HDR off if ghosting | Missed focus, blur from slow shutter |
| Food close-up | Tap focus on main dish, exposure down slightly, avoid ultra-wide | Distortion at edges, mixed light color casts |
Hands-on workflow: 60 seconds to a better shot
If you want a repeatable routine, keep it simple. This is the part most people skip, then they blame the phone.
- Clean the lens with a soft cloth. Pocket haze is real and it kills contrast.
- Choose the right camera: start at 1x, then move physically closer if possible.
- Set focus and exposure: tap subject, nudge exposure until highlights look safe.
- Stabilize: elbows in, exhale, or brace on a table/door frame.
- Shoot a short burst (even 3–5 frames), then pick the sharpest.
According to Adobe’s photography guidance for beginners, controlling exposure and shooting in consistent light makes editing easier and typically preserves more detail, which matches what you see in day-to-day phone shooting.
Common mistakes that quietly ruin photo quality
These are the settings and habits that “feel helpful” but often produce worse files.
- Digital zoom in low light: you amplify noise and reduce detail; crop later instead.
- Ultra-wide indoors: edge distortion plus smaller sensors can look mushy.
- Overusing Portrait mode: hair and glasses can get messy cutouts, especially in dim rooms.
- Maxing sharpening/clarity in-app: it can create crunchy textures and halos.
- Mixing light sources (cool window + warm lamp) without noticing: skin tones go weird fast.
If you only fix one thing this week, fix lighting. Many “camera setting” problems are really “not enough clean light” problems wearing a disguise.
When to use Pro/Manual mode (and when not to)
Pro mode helps when the phone’s auto system keeps making the same wrong choice, like indoor shots that are too slow and blurry. If Pro mode stresses you out, skip it; consistency beats complexity.
Simple Pro mode moves that work
- Shutter speed: if motion blur is the issue, use a faster shutter (for example, 1/250 for kids running), then add more light instead of raising ISO endlessly.
- ISO: keep ISO as low as the scene allows to reduce noise.
- White balance: set a fixed WB indoors if colors keep shifting between frames.
Many phones still apply processing even in Pro mode, so don’t expect it to behave like a DSLR. Treat it as a way to guide the phone, not replace it.
Key takeaways you can apply today
- Tap focus, then adjust exposure; do not let the phone guess your priority.
- Use HDR for contrast, not for everything, especially if subjects move.
- In low light, stabilize first, then consider night mode, and avoid zoom.
- Main camera wins for detail and cleaner files in most phones.
- Better light beats “better settings” more often than people want to admit.
If you want an easy next step, open your camera, turn on grid lines, clean the lens, and practice locking exposure for one backlit scene. That single habit usually raises your keeper rate fast.
FAQ
What are the best phone camera settings for everyday photos?
Start with the main camera (1x), use 4:3 if available, tap to focus on your subject, and adjust exposure slightly. If your phone offers HDR auto, that’s usually fine until you see motion artifacts.
Should I leave HDR on all the time?
Many people do, but it depends on what you shoot. HDR helps with bright skies and windows, but in fast action it can create ghosting or an overly processed look, so turning it off is sometimes the cleaner choice.
Why are my indoor photos grainy even on a new phone?
Indoor light is often dimmer than it feels, so the phone raises ISO and noise appears. Add light, move closer to a lamp, or stabilize and use night mode for still subjects rather than forcing digital zoom.
Is RAW worth using on a phone?
RAW is worth it if you edit regularly and care about recovering highlights or fixing color casts. For quick sharing, JPEG/HEIC is usually more convenient and often looks great because the phone’s processing is tuned for it.
How do I get sharp photos of kids and pets?
Give the camera more light, avoid night mode, use burst shooting, and keep to 1x when possible. If your camera app has an action/sports mode, try it, but the biggest win is brighter light and shorter distance.
Why does my portrait mode cut out hair badly?
Edge detection struggles in low contrast and low light. Try brighter, even lighting, keep a clean background separation, and consider turning portrait mode off when hair is backlit or messy in motion.
What’s the simplest phone camera settings guide for night photos?
Use night mode for still scenes, brace the phone, and shoot at 1x. If people are moving, night mode can blur them, so you may get better results with more light and a normal photo mode.
If you’re trying to get consistent results for social content or product shots and you’d rather not troubleshoot every scene, a simple checklist and a repeatable setup can save time. If you tell me your phone model and what you shoot most, I can suggest a tighter settings workflow that fits your use.