
Top free online photo restoration tools can take a faded, scratched scan from “almost unusable” to “good enough to share” in minutes, without installing anything.
If you’ve ever tried restoring an old family photo, you already know the frustration: discoloration, dust specks, creases, and soft focus all stack up, and most “free” tools hide the best fixes behind a paywall. The good news is you can still get real results for $0 if you pick the right workflow.
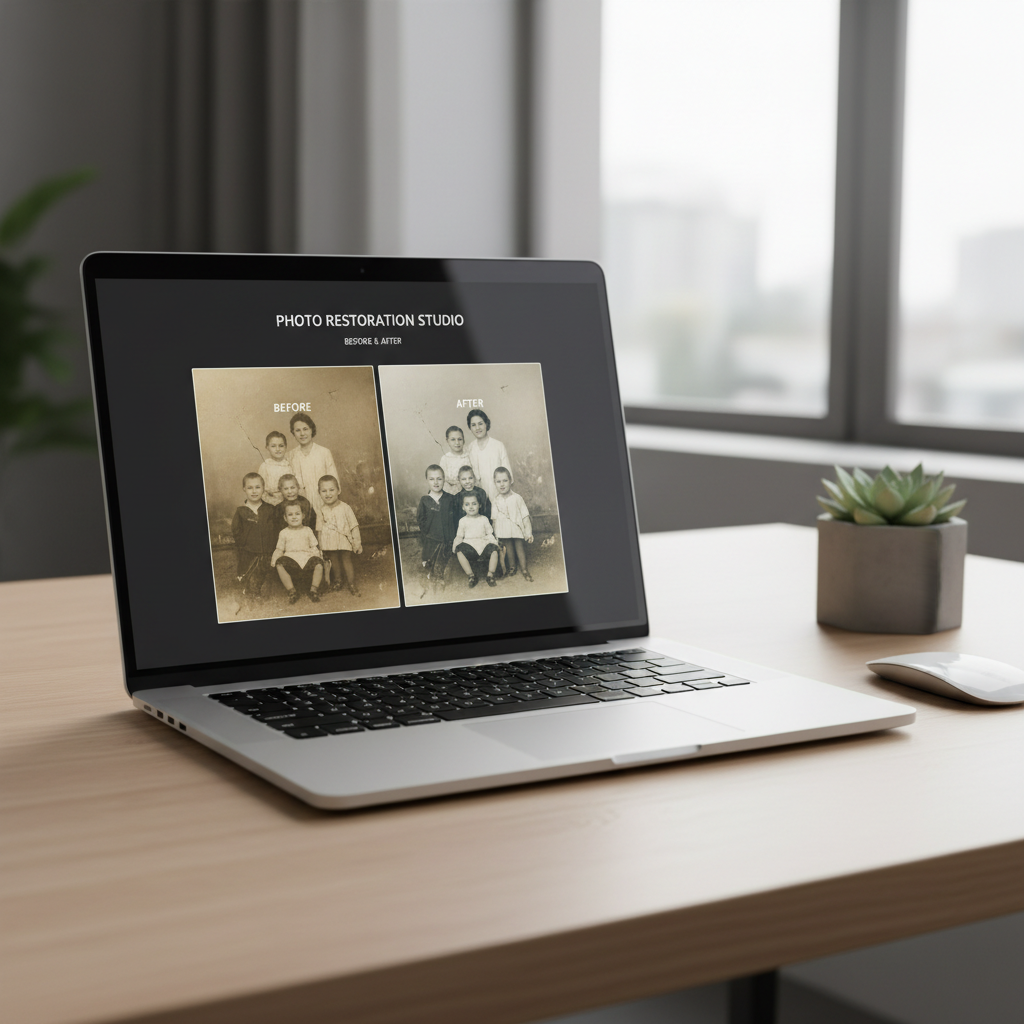
This guide focuses on what actually matters for free online restoration: what each tool is good at, where “free” usually ends, and how to avoid common quality killers like over-sharpening, plastic skin textures, or saving a low-res preview by mistake.
According to the Library of Congress, proper handling and storage are key to preserving photographs over time. Digital restoration helps for sharing and reprinting, but it’s still worth keeping your originals protected while you work.
What “photo restoration” means online (and what it usually doesn’t)
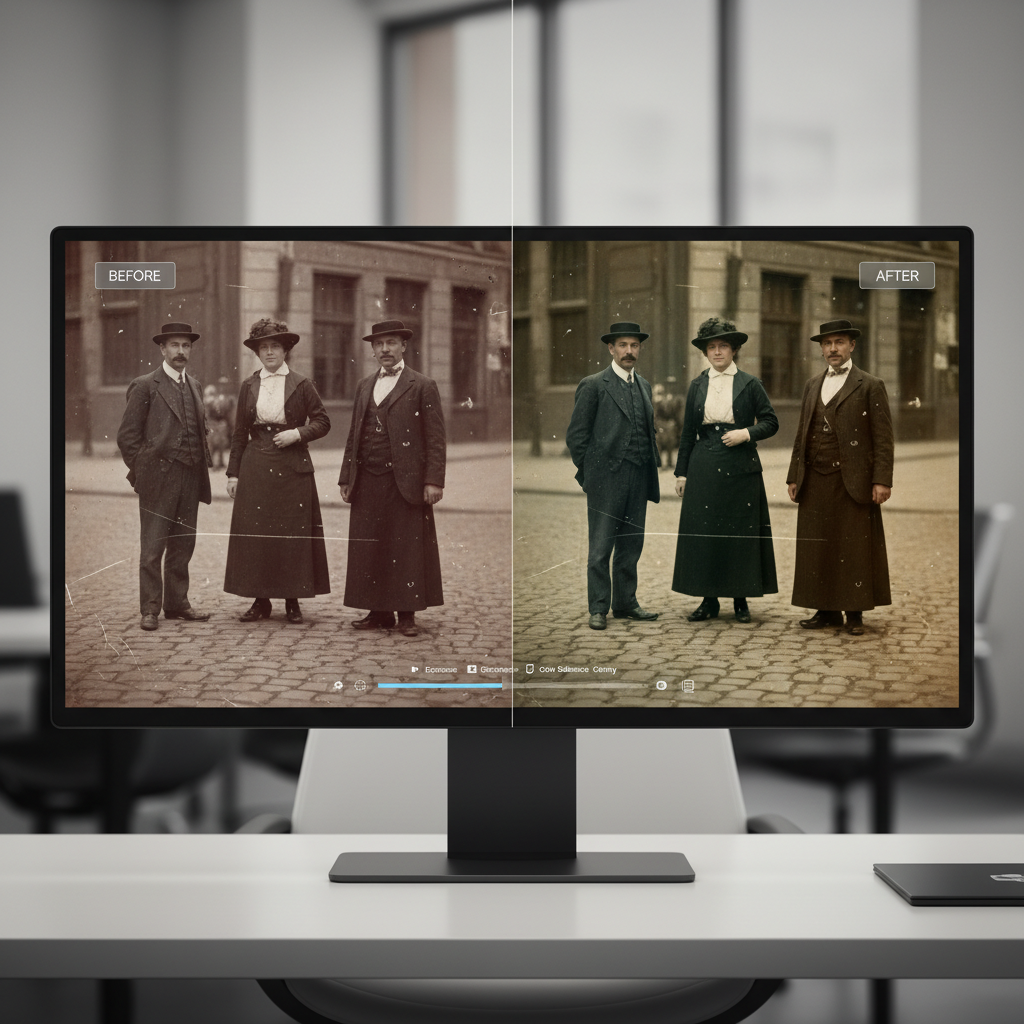
Online restoration tools typically apply a mix of denoise, deblur, contrast/color correction, and scratch/blemish removal. Many now use AI to guess missing texture, especially in damaged areas.
What they often can’t do well for free is heavy reconstruction: filling large torn sections, fixing extreme motion blur, or perfectly recovering faces from tiny, low-quality scans. Those jobs usually need either manual retouching or paid credits.
- Great free wins: faded color, mild scratches/dust, slight softness, uneven lighting.
- Mixed results: deep creases across a face, strong color casts, heavy JPEG artifacts.
- Usually not free: full-resolution exports, batch processing, large upscales.
Quick self-check: what kind of damage are you fixing?
Before you upload anything, classify the problem. This avoids bouncing between tools and getting that “AI overcooked” look.
- Faded / yellowed prints: colors drift warm, blacks look gray, highlights lose detail.
- Dust, small scratches: scattered white specks or thin lines, especially on scans.
- Creases / tears: a visible fold line or missing paper texture.
- Soft focus / low detail: faces look mushy, edges have no definition.
- Low resolution: tiny file size, pixelation, hard to reprint.
Key point: if the file is low-res, do not start with aggressive sharpening. Upscale or improve clarity gently first, then retouch defects.
Top free online photo restoration tools: what to try first
Below are widely used options that typically offer a free tier or free trial, but the exact limits can change. Always check export resolution, watermark rules, and privacy terms before uploading personal photos.
1) Photopea (browser-based, Photoshop-like editing)
If you’re willing to do a bit of manual work, Photopea is one of the most practical “free” restoration options because it’s a real editor in the browser.
- Best for: spot healing, clone stamp fixes, crease reduction, selective color tweaks.
- Watch for: it’s not one-click AI restoration, you’ll need basic tool familiarity.
2) Pixlr (quick cleanup + adjustments)
Pixlr is friendly for fast edits: basic retouching, exposure, and color fixes. Many people use it as the “get it 80% there” step, then finish elsewhere.
- Best for: exposure/contrast, color balance, simple blemish cleanup.
- Watch for: some features and exports can be restricted depending on plan.
3) MyHeritage In Color / Photo Enhancer (strong for faces, varies by free access)
For old portraits, MyHeritage can produce a noticeably cleaner face quickly. Free access often comes with limits, so treat it as a test bench.
- Best for: portraits, face enhancement, quick improvements for sharing.
- Watch for: terms, account requirements, and free export constraints.
4) Remini (popular enhancer, free use often limited)
Remini is known for aggressive enhancement. It can rescue facial detail, but it can also invent texture that looks “too perfect.”
- Best for: small, blurry faces where you need a quick clarity boost.
- Watch for: plastic skin, strange eyes, artifacts on hairlines.
5) Canva (easy color/contrast fixes, light retouching)
Canva is not a dedicated restoration suite, but for many families the job is “make it brighter, less yellow, and readable.” Canva does that easily and is beginner-friendly.
- Best for: quick color correction, cropping, preparing a shareable layout.
- Watch for: detailed scratch removal still needs a stronger editor.
Comparison table: pick the right tool faster
This is a practical “which tool first” view. Free tiers change, so treat “Free export” as “check current limits.”
| Tool | Best at | Skill level | Typical free limitations |
|---|---|---|---|
| Photopea | Manual scratch/crease repair, precision edits | Intermediate | Not AI one-click; relies on your edits |
| Pixlr | Fast cleanup + color/exposure | Beginner-Intermediate | Feature/export limits may apply |
| MyHeritage | Portrait enhancement, colorization options | Beginner | Account limits, export constraints vary |
| Remini | Face/detail enhancement | Beginner | Limited free runs; may restrict full-res saves |
| Canva | Simple fixes + share-ready output | Beginner | Some assets/features behind paywall |
A simple restoration workflow that usually works (free-first)
Most people get better results by splitting the job into steps, instead of asking one tool to do everything.
- Step 1: Start with the best scan you can — if possible, scan at higher resolution, straighten, and crop.
- Step 2: Fix global tone and color — exposure, contrast, white balance, and mild saturation first.
- Step 3: Clean defects — remove dust and scratches with healing/clone tools, zoomed in.
- Step 4: Improve clarity carefully — light sharpening or AI enhancement, then dial it back.
- Step 5: Export smart — keep a lossless copy (PNG/TIFF if available) and a share copy (JPEG).

Quick reality check: if an AI enhancer makes a face look “different,” trust your gut. Back off, or keep the original face detail and only repair scratches/color.
Common mistakes that make restorations look worse
- Over-sharpening early: it locks in noise and makes scratches harder to remove cleanly.
- One-click everything: AI can do a lot, but it often needs manual cleanup to look natural.
- Saving the preview file: some tools show a great preview but only allow low-res downloads for free.
- Fixing color at the end: dust and scratches can change how color tools behave, so color-first is usually smoother.
- Uploading sensitive photos casually: if privacy matters, read the site’s policy and consider offline editing.
According to the Federal Trade Commission (FTC), reviewing privacy practices before sharing personal information online helps you make more informed choices. For family photos, that can matter more than people expect.
When to consider a pro (or at least a paid tool)
Free tools are great for casual restoration, holiday sharing, and social posts. If the photo is historically valuable or emotionally irreplaceable, paying for careful work can be worth it.
- Severe damage: missing chunks, heavy mold stains, major tears across faces.
- Print reproduction: you need large, clean output for framing or a memorial display.
- Accuracy matters: you want realistic skin texture and faithful colors, not “AI guesswork.”
- Time cost: you’ve spent hours and still hate the result.
If you’re unsure, a middle option is to do free cleanup (crop, color balance, dust removal) and then pay only for one final high-res enhancement or a professional retouch session.
Key takeaways + a practical next step
If you want the fastest path, use one of the AI-style options to see what’s possible, then switch to a browser editor for the “human” details like creases and edge cleanup. That blend usually beats chasing a single magic button.
- Start simple: fix tone/color, then remove defects, then enhance lightly.
- Keep versions: save an untouched scan plus a working copy so you can roll back.
- Don’t trust the first export: confirm resolution and file quality before you close the tab.
If you’re restoring a batch of family photos, pick one image as your test case, lock your workflow, then repeat it. You’ll get more consistent results and waste less time.
FAQ
- What are the top free online photo restoration tools for beginners?
For beginners, tools like Pixlr or Canva can be easier for quick fixes, while AI enhancers like Remini or MyHeritage can help with portraits, though free limits often apply. - Can free tools really remove scratches from old photos?
Many can handle light scratches and dust, especially with healing/clone tools in editors like Photopea. Deep creases across important details may still need manual retouching or paid help. - How do I avoid the “AI face” look when enhancing old pictures?
Use enhancement lightly, avoid max settings, and compare against the original at 100% zoom. If eyes, teeth, or skin texture look invented, scale back and prioritize cleanup over “more detail.” - What scan settings should I use before restoration?
Higher resolution scans usually restore better because tools have more real detail to work with. If you have access to a scanner, scanning at a higher DPI and saving a clean file can help a lot. - Are online photo restoration sites safe for private family photos?
It depends on the provider’s privacy policy and how uploads are stored. If privacy is a concern, consider tools that run locally, or avoid uploading highly sensitive images. - Why does my restored photo look worse after sharpening?
Sharpening can amplify dust, film grain, and compression artifacts. Try reducing sharpening, applying denoise first, or sharpening only specific areas instead of the whole image. - What file format should I save after restoring?
If possible, keep a high-quality master (often PNG) and then create a smaller JPEG for sharing. The key is to avoid repeated re-saving of JPEGs, which can add artifacts.
If you’re trying to restore a whole box of prints and want a more predictable, less fiddly process, it may help to standardize your scan settings and run a consistent free-first workflow, then use a paid upgrade only for the few photos that truly need high-res export or heavier reconstruction.